Playbook5 min read
Founders Don't Need to Reshoot Every Time: Make an Existing Video Say Something New with WorkBuddy + Yihook
Connect Yihook in WorkBuddy, upload an existing talking video and voice sample, clone your voice, review the new narration, then generate a lip-sync video.
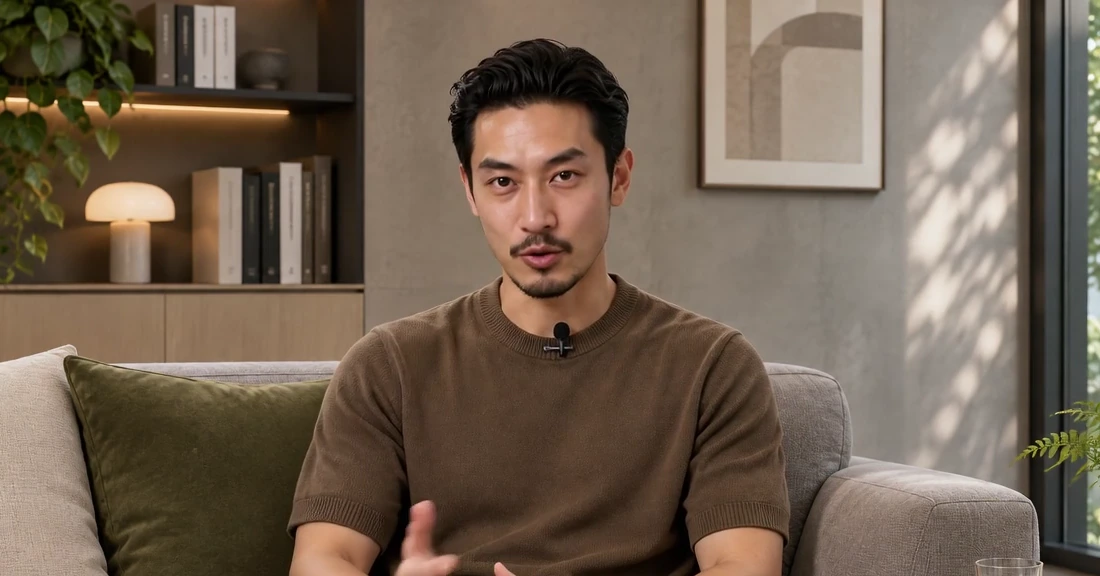
Do you want to use video to help clients get to know you and your brand, but consistently find yourself held back by the filming process?
You know your product inside out and can address customer questions with ease. Yet the moment the camera turns on, words slip your mind, delivery stumbles, and getting into the right flow takes effort. For a short talking video, memorizing lines, practice takes, and re-recording can take half a day. When the next product update comes along or you want to cover a new topic, you have to go through the whole process again.
For business owners and brand founders, sharing insights consistently is valuable, but carving out time to film every single time creates a genuine burden.
Now, you can try reusing an existing on-camera video and make it deliver new content in your own voice.
This tutorial guides you through connecting Yihook in WorkBuddy to produce a lip-synced digital human video. Watch the full demonstration below, then follow the step-by-step instructions.
Note: The demonstration video features the Chinese interface and Chinese voiceover.
Step 1: Prepare Three Things Before You Begin
You do not need an elaborate production plan for your first attempt; start with a short talking video.
| Asset | What to Prepare |
|---|---|
| Portrait Video | An existing video of yourself on camera. We recommend a clip with clear facial visibility, an unobstructed mouth area, and stable framing. |
| Voice Sample | An audio recording used to clone your voice. Keep it as clean as possible, minimizing background music and background voices. |
| New Script | The content you want the video to deliver this time, such as a brand story, a product overview, or a frequently asked customer question. |
It is important to distinguish the roles of these inputs: the voice sample is used to clone your vocal timbre, while the new script determines what is spoken in this video.
For your first attempt, prepare a portrait video of around 20 to 30 seconds paired with a short script of appropriate length. Once the voiceover is generated, check its actual duration and try to keep the audio length close to the video length.
Step 2: Connect Yihook in WorkBuddy
Following the steps in the video, navigate to Experts · Skills · Connectors (“专家·技能·连接器”) on the left sidebar of WorkBuddy, switch to the Connectors (“连接器”) tab, and search for Yihook.
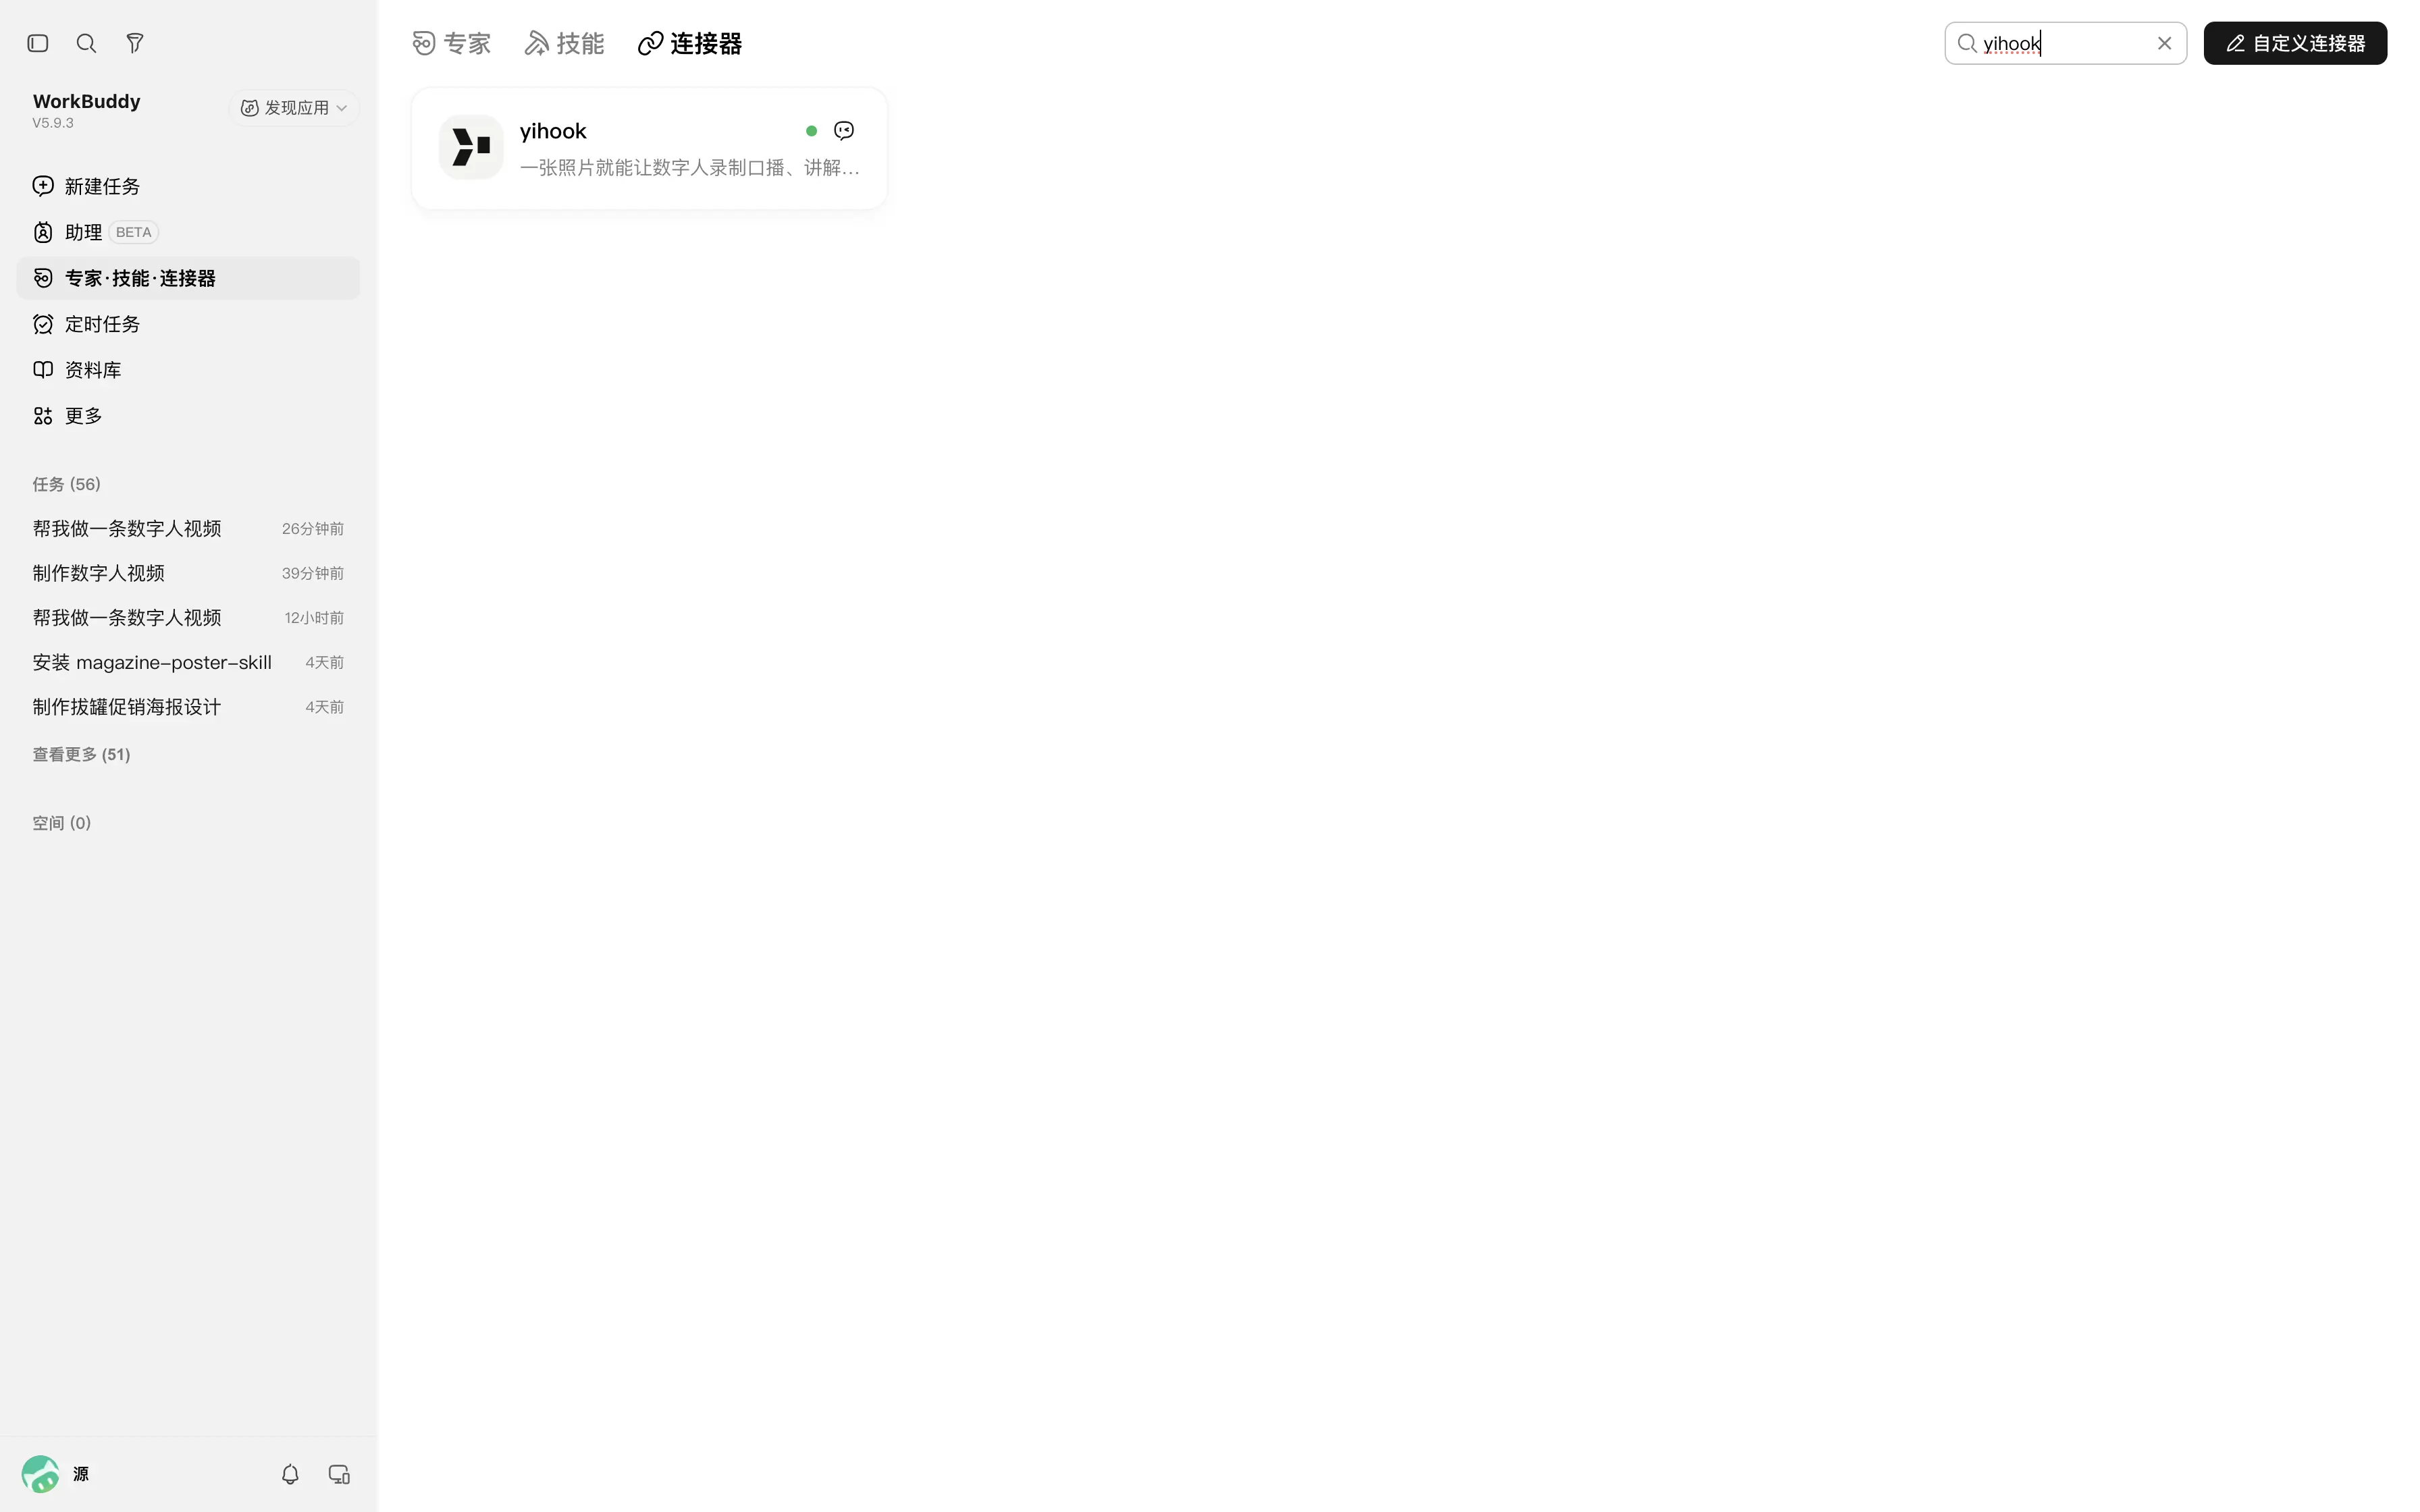
Click the Yihook card, then click Connect (“连接”). You will be redirected to the authorization page.
Follow the prompts on the redirected page to complete account registration or sign-in, and confirm authorization.
Once completed, return to WorkBuddy. After confirming that the connection is successful, click Try It (“去试试”) to get started.
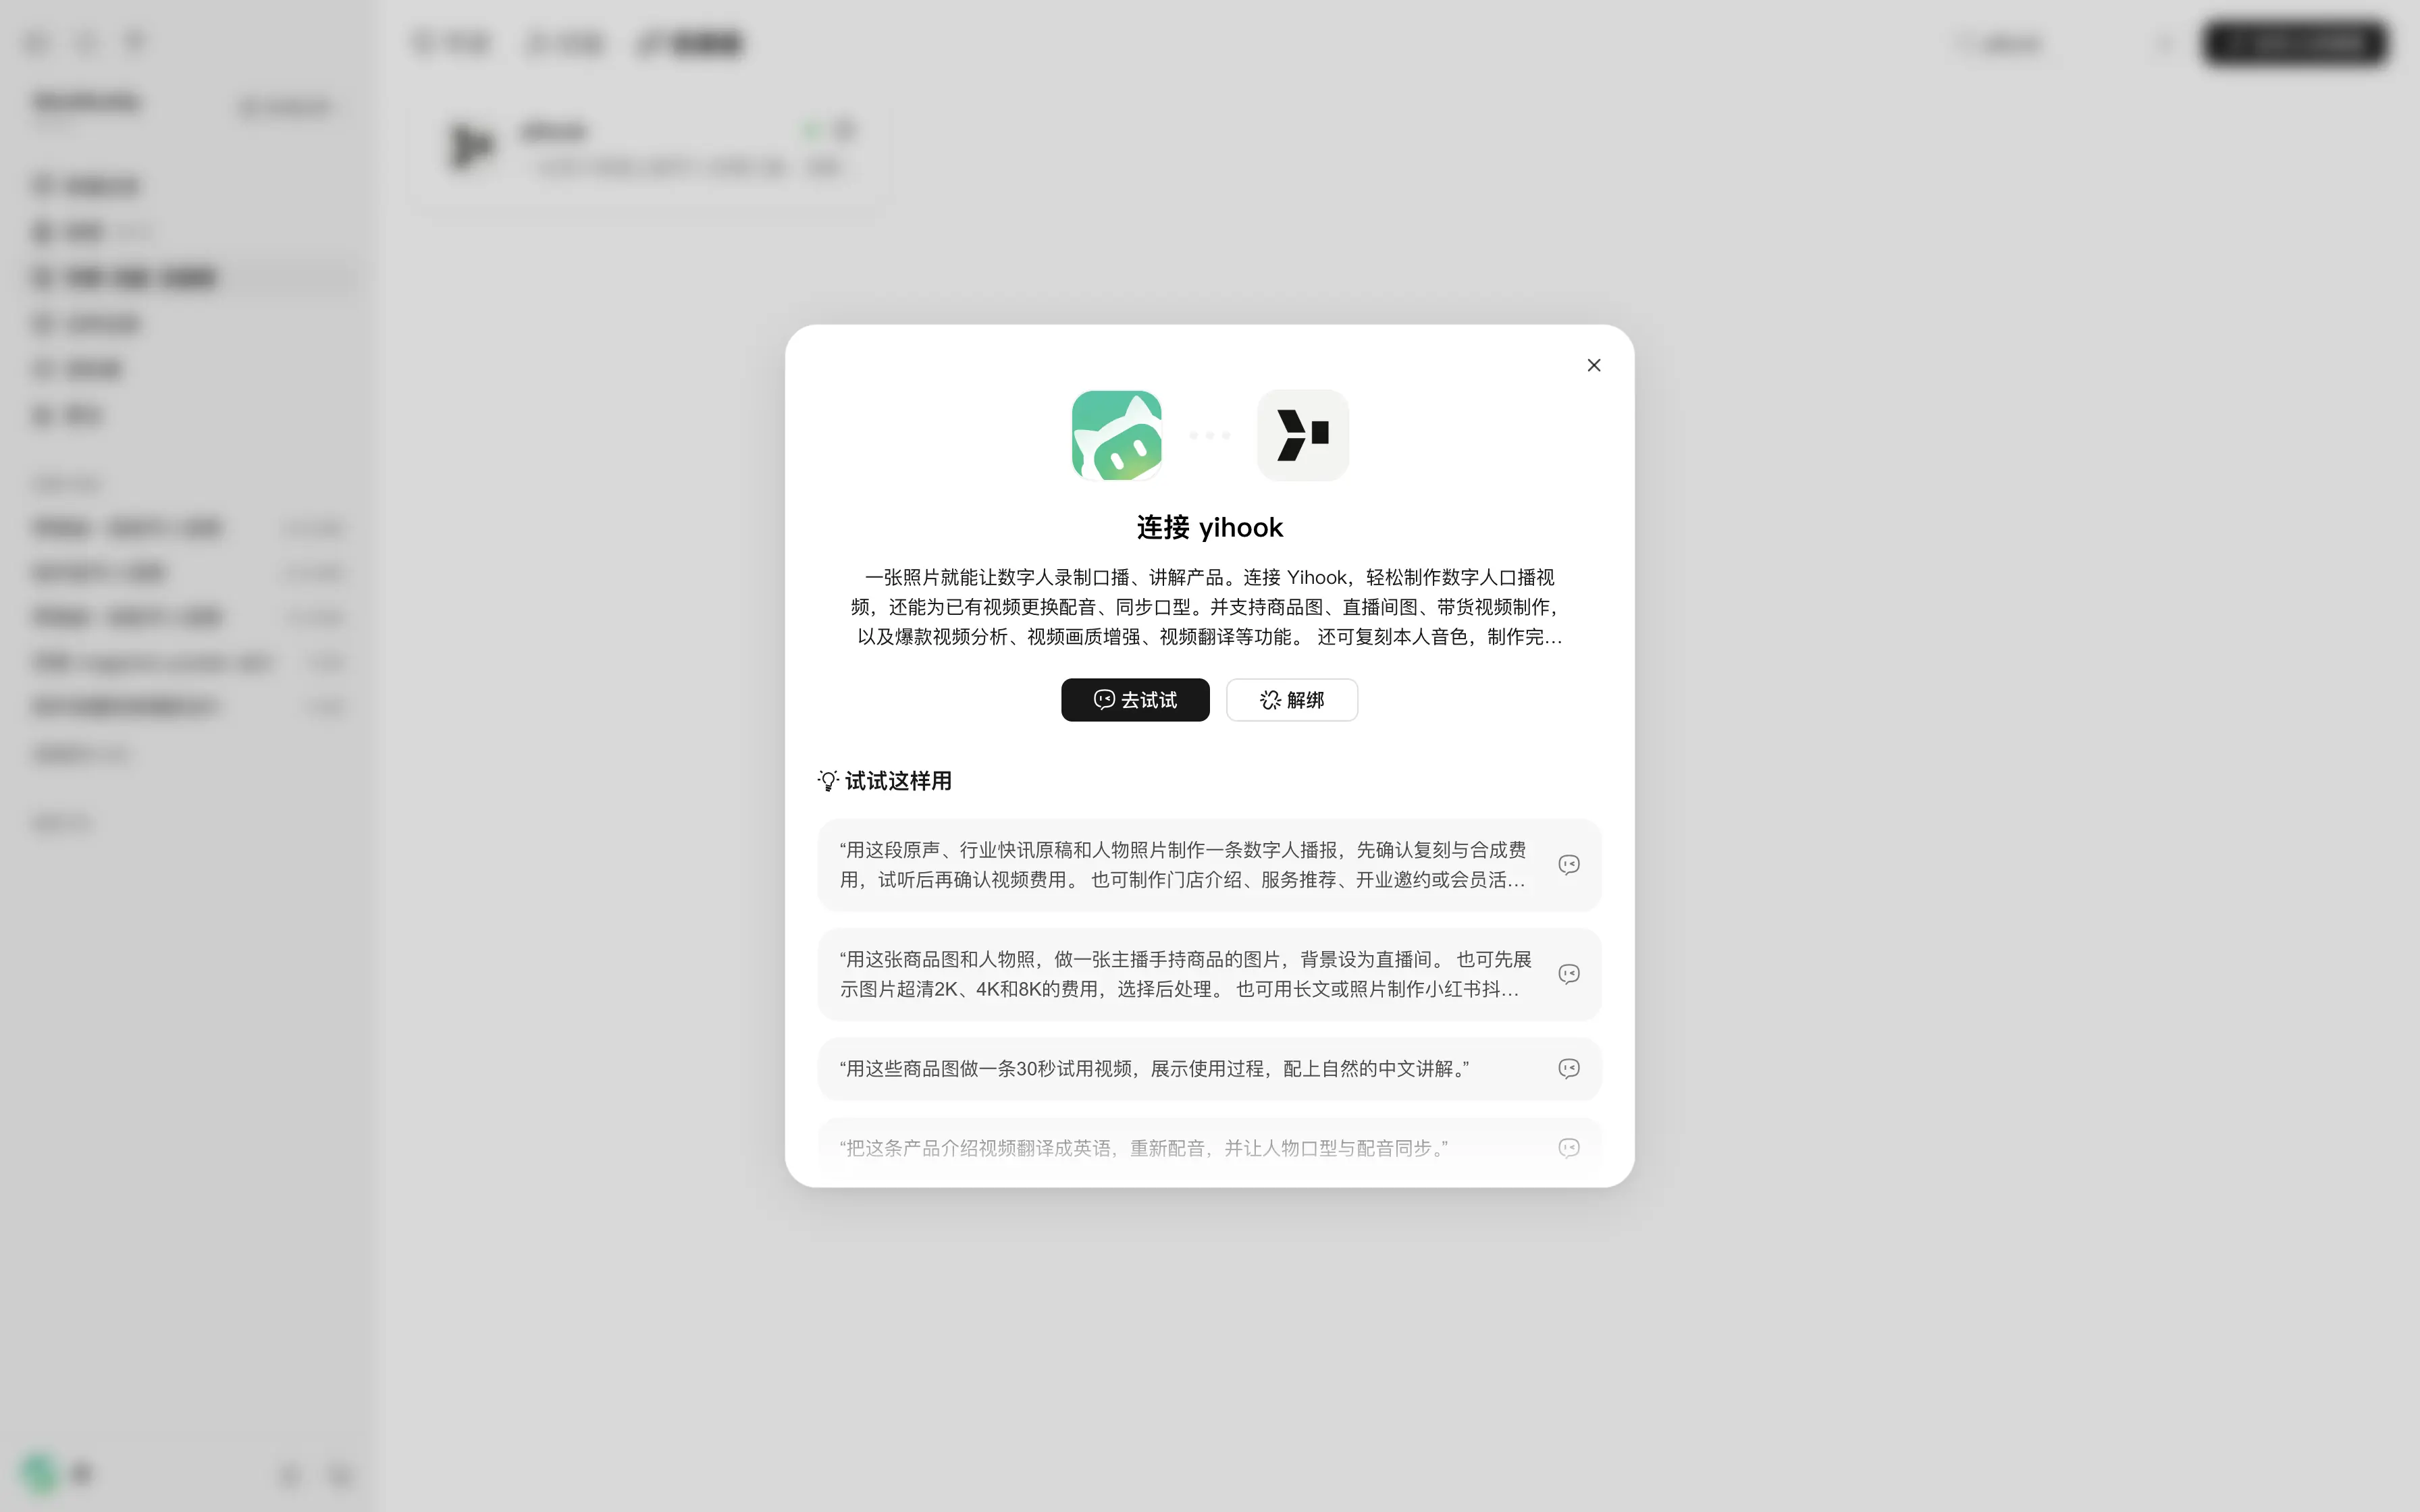
Once this step is complete, you can begin submitting requests in the chat. If you have already connected Yihook previously, simply confirm that the connection is active.
Step 3: Upload Assets and Send Your Request to WorkBuddy
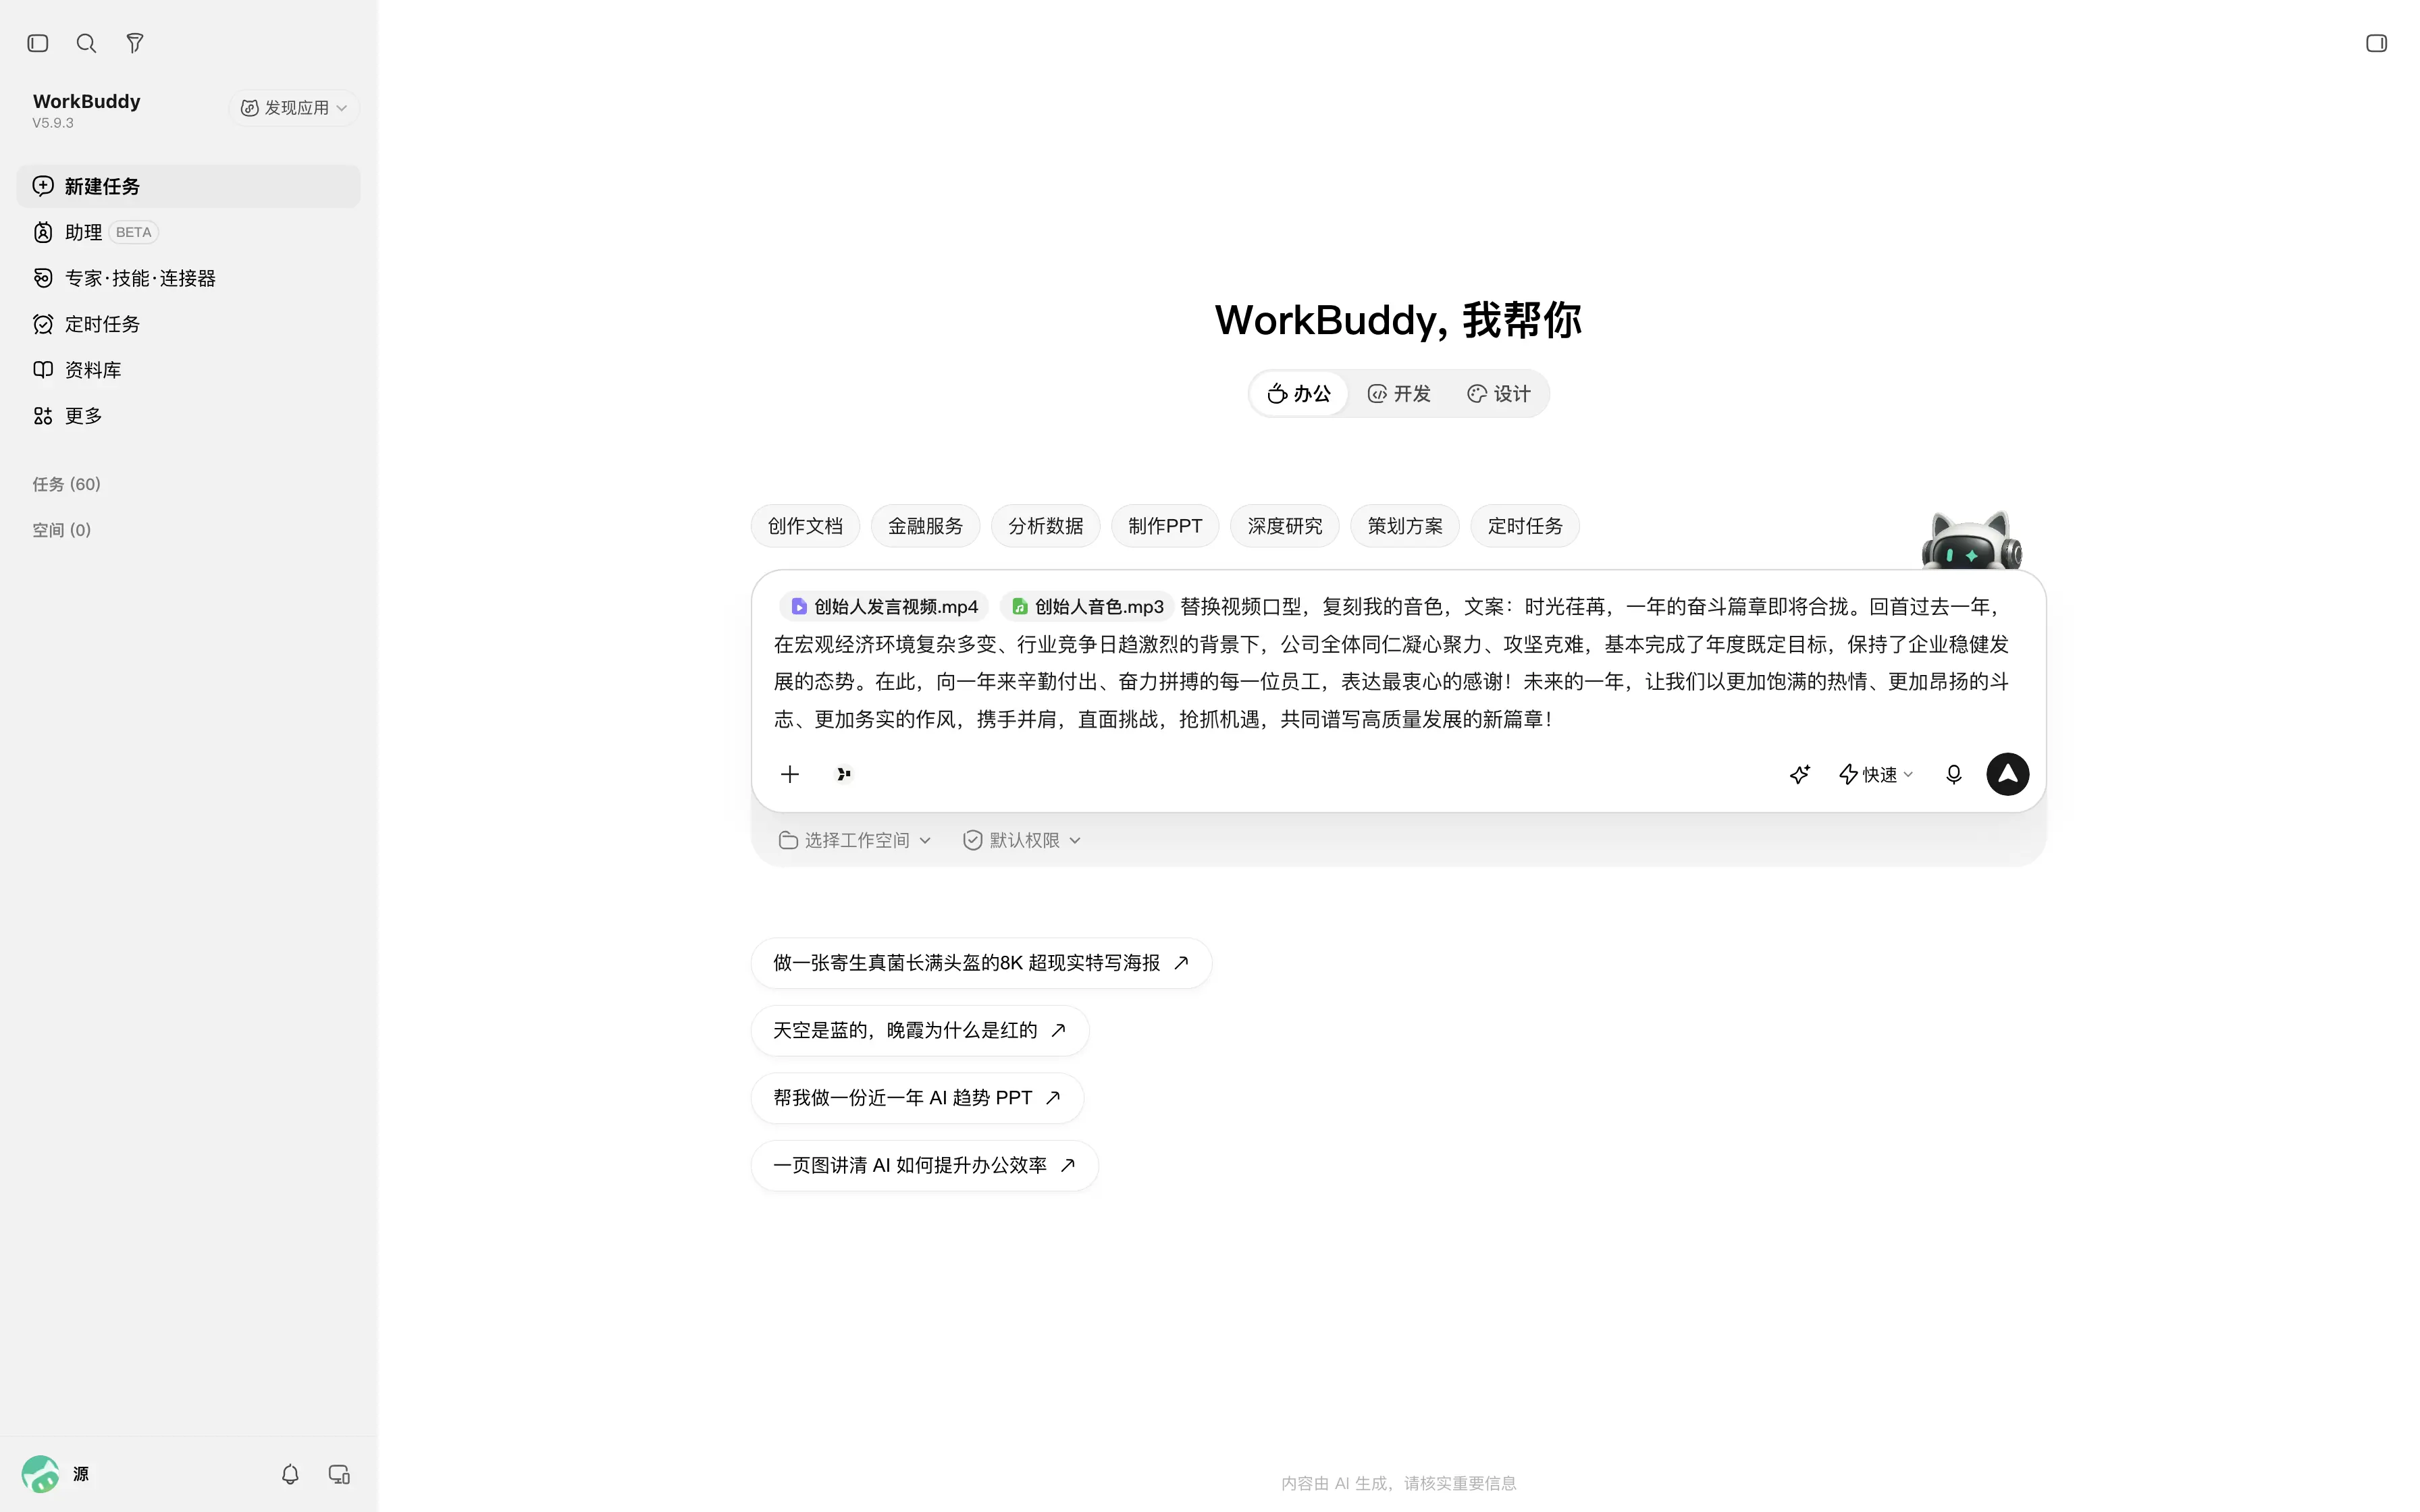
Create a new chat, upload the portrait video and voice sample, then paste your new script.
You can directly copy the prompt below and replace the placeholder script with your own:
[Upload portrait video] [Upload audio] Replace the video lip sync, clone my voice timbre, script: [Paste your script here]
[上传人物视频][上传音频]替换视频口型,复刻我的音色,文案:[在这里粘贴你的文案]
Step 4: Confirm the Plan and Preview the New Script Voiceover
After sending your prompt, provide any required details as prompted by WorkBuddy. Review the assets, script, and estimated cost for this run before confirming execution.
Once voice cloning finishes, the system will use your cloned custom voice to generate the voiceover for the new script. If you already have an existing custom voice model from a previous session, you can instruct it to reuse that profile.
Once the voiceover is generated, listen to it once and check three key aspects:
- Whether brand names, product names, and key numbers are pronounced correctly.
- Whether the speech rate and pauses feel natural.
- Whether the overall delivery matches the tone you intend to convey.

If adjustments are needed, state your specific request directly—for example, "Slightly slower speech rate" (“语速慢一点”). If you revise the script or regenerate the audio, note the updated plan and cost.
Voice cloning, voiceover generation, and video generation may be billed separately. The credits shown in the video are for demonstration purposes and do not represent a fixed fee for every video.
Step 5: Confirm the Video Plan and Generate the Lip-Synced Video
Once you are satisfied with the audio preview, check the portrait video, target voiceover, lip-sync quality tier, and video cost quote, then confirm generation.
This step applies the new voiceover to perform lip synchronization on the video. The voiceover generated in this workflow can be used directly without downloading and re-uploading.
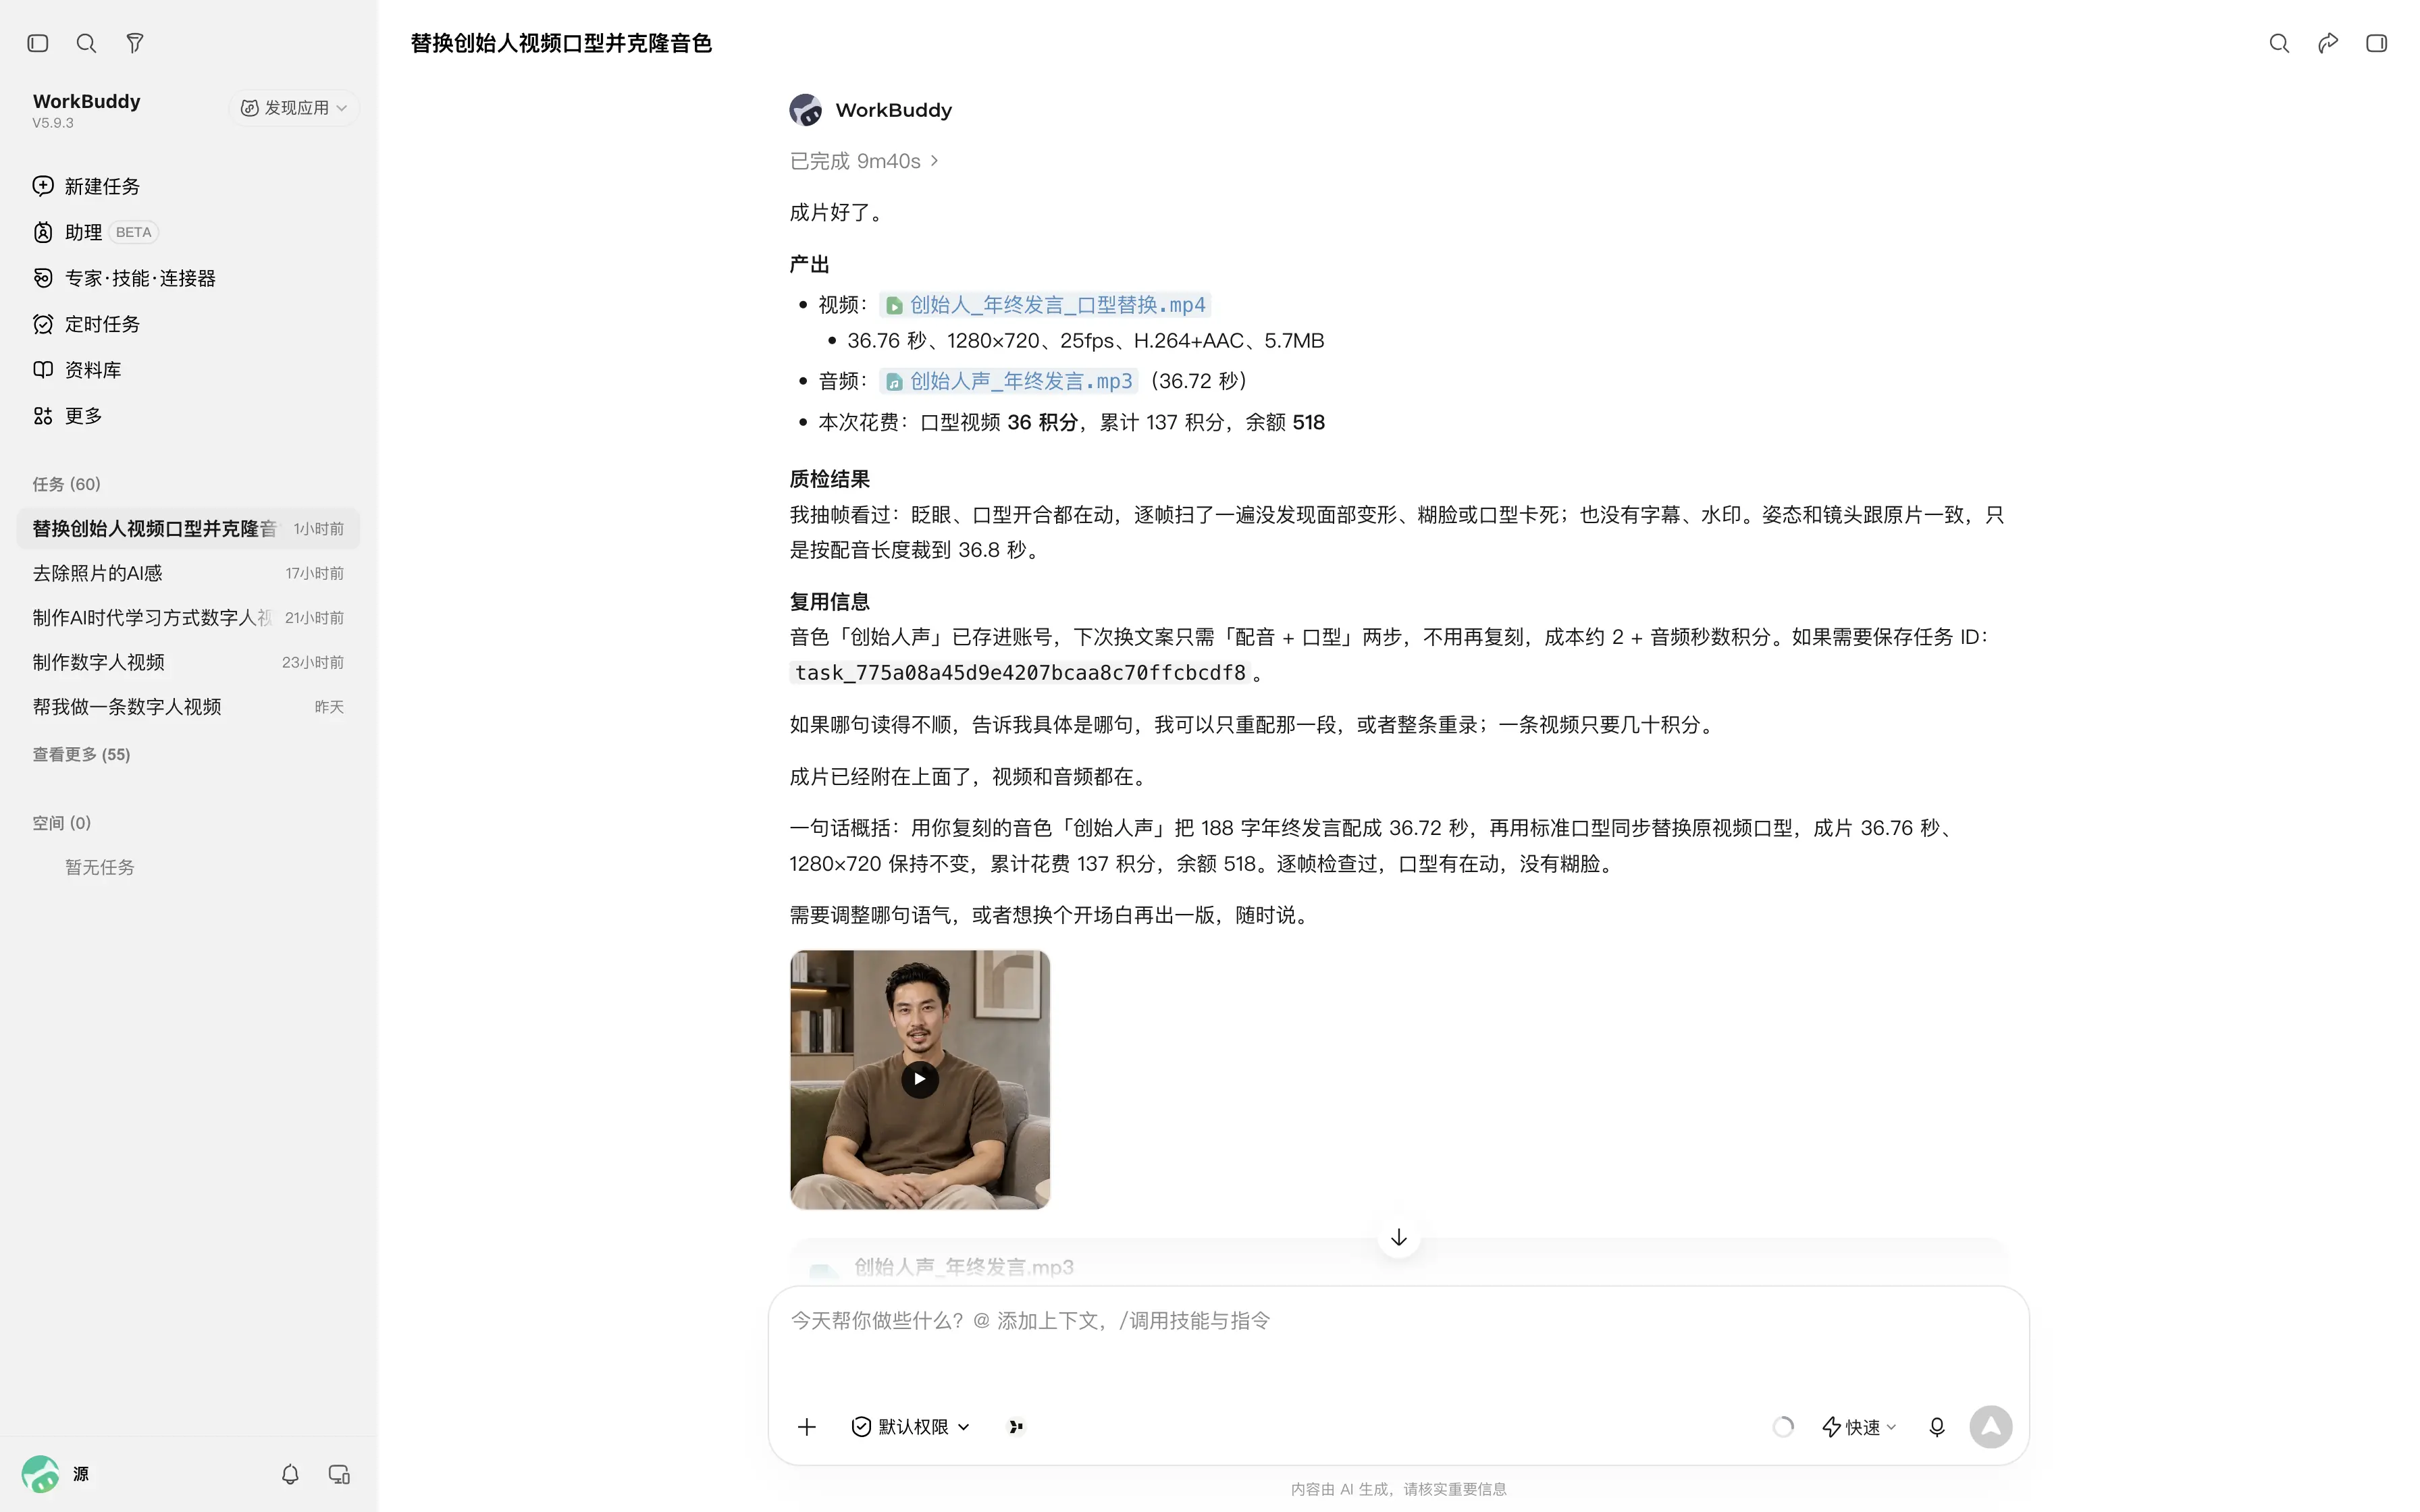
Once the task finishes, open the final video preview to verify that lip movement matches the audio, facial expressions appear natural, and the full content is complete before downloading for use.
Start with an Existing Video
For business owners, brand founders, and content creators looking to publish on-camera videos, the challenge is often the same: you have ideas and experience, but struggle to carve out the time to film; once you finally finish recording a video, sustaining regular updates is difficult.
The value of WorkBuddy + Yihook is to reduce the burden of stepping in front of the camera for every content update, giving ideas that were previously shelved due to "lack of filming time" a chance to be produced and seen.
Open WorkBuddy, connect Yihook, and start with an existing video to simplify on-camera content creation.

Ready to try it?
Put this playbook to workon your next piece.
Every prompt and workflow above runs as-is on the Yihook canvas. Start from a product shot or an idea, make the visuals and videos, and keep what works for your team.